Table of Contents
1. Introduction
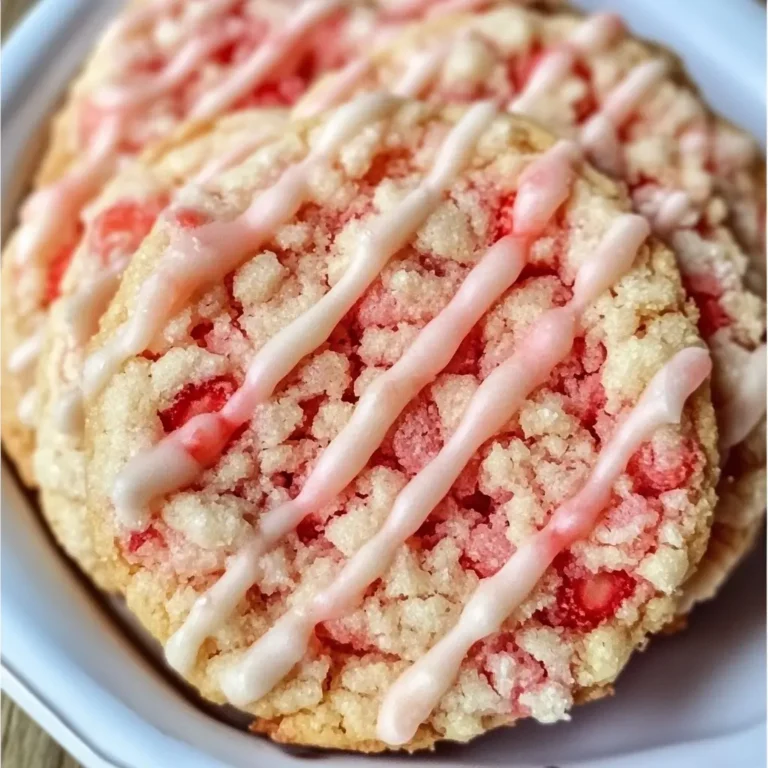
Prepare to be transported back to sunny summer days with these delightful Strawberry Crunch Cookies! Inspired by the beloved ice cream bar, these cookies capture all the nostalgic flavor and satisfying texture of the classic treat in a convenient, bite-sized form. They feature a soft, chewy vanilla or subtly strawberry-flavored cookie base crowned with a vibrant, crunchy topping made from crushed cookies and freeze-dried strawberries. While the history of the “strawberry crunch” flavor combination is relatively recent, rooted in frozen desserts, its rapid popularity speaks to the irresistible appeal of strawberries and cream with a textural twist. These homemade cookies bring that joy to your kitchen, offering a simple yet incredibly satisfying baking project that’s perfect for sharing (or not!).
2. Recipe Summary
- Cuisine: American (Dessert/Baking)
- Difficulty Level: Easy
- Total Preparation and Cooking Time: Approximately 30-35 minutes (15 minutes prep, 10-12 minutes bake per batch, plus cooling time)
- Dietary Classification: Contains gluten, dairy, and eggs. Not suitable for vegetarian, vegan, or gluten-free diets without significant modifications.
3. Equipment and Utensils
You won’t need any specialized equipment for these straightforward cookies:
- Medium Bowls (2): One for mixing the dry ingredients and another for preparing the strawberry crunch topping.
- Large Mixing Bowl: For creaming the butter and sugar and combining the cookie dough.
- Whisk: For combining the dry ingredients.
- Hand Mixer or Stand Mixer (optional but helpful): Makes creaming butter and sugar much easier and faster. A sturdy whisk and some arm power will also work.
- Rubber Spatula: For scraping down the sides of the bowl and folding in ingredients.
- Measuring Cups and Spoons: Accurate measurements are important for cookie success. You’ll need:
- Dry measuring cups (1¼ cup, ¼ cup, ½ cup, 1 cup)
- Measuring spoons (teaspoon, ¼ teaspoon, ⅛ teaspoon, 2 tablespoons)
- Baking Sheets: You’ll likely need at least two to rotate batches efficiently.
- Parchment Paper: Lining your baking sheets prevents sticking and makes cleanup a breeze.
- Small Bowl (for topping): A shallow bowl or plate works well for pressing the cookies into the topping.
- Wire Rack: For cooling the cookies completely.
4. Serving Suggestions
These Strawberry Crunch Cookies are delightful on their own, but here are some ideas to enhance the experience:
- Plating: Arrange the cookies on a colorful plate or in a cookie jar to showcase their vibrant topping. Their cheerful appearance makes them perfect for parties or bake sales.
- Side Dish Ideas: As a dessert cookie, side dishes aren’t typically needed.
- Complementary Side Dishes: For a sweet spread, consider pairing them with a scoop of vanilla ice cream, a dollop of whipped cream, or fresh strawberries.
- Wine or Beverage Pairings: A cold glass of milk is a classic pairing. Lemonade, iced tea, or a light, fruity sparkling beverage would also complement the strawberry flavor.
5. Nutritional Information
These Strawberry Crunch Cookies are a sweet treat and should be enjoyed as part of a balanced diet. A precise nutritional breakdown would vary based on specific ingredients and portion sizes, but generally, you can expect them to contain:
- Calories: Moderate to high per cookie, primarily from sugars and fats.
- Macronutrient Distribution: Higher in carbohydrates and fats, lower in protein.
- Dietary Information: Contain refined sugars and fats.
- Potential Health Benefits: Primarily offer the benefit of enjoyment and the simple pleasure of a homemade treat!
6. Storage and Reheating
Proper storage will keep your Strawberry Crunch Cookies fresh and the topping crunchy:
- Proper Storage Instructions: Once completely cooled, store the cookies in an airtight container at room temperature. To help maintain the crunch of the topping, you can place a piece of parchment paper between layers if stacking.
- Refrigeration Instructions: Refrigerating the cookies can extend their shelf life by a few days, but it may slightly soften the topping. Store in an airtight container if refrigerating.
- Freezing Recommendations: Baked cookies can be frozen for up to 2-3 months.1 Once completely cooled, place them in a single layer on a baking sheet and freeze until firm. Then transfer them to a freezer-safe bag or container,2 ideally with parchment paper between layers. The topping’s crunch might diminish slightly after freezing and thawing.
- Reheating Methods: Reheating is generally not necessary or recommended for these cookies as they are best enjoyed at room temperature.
7. Expert Tips and Variations
Make these Strawberry Crunch Cookies your own with these helpful tips and creative ideas:
- Tips from Professional Chefs:
- Ensure your butter is softened to room temperature for proper creaming with the sugar.
- Don’t overmix the cookie dough once the dry ingredients are added; mix just until combined to avoid tough cookies.
- Use good quality freeze-dried strawberries for the best flavor and color in the topping.
- Press the topping firmly onto the cookie dough balls to ensure it adheres well during baking.
- Common Mistakes to Avoid:
- Overmeasuring flour: Can lead to dry, dense cookies. Spoon and level your flour.
- Overbaking: Results in hard, dry cookies. Take them out when the edges are just lightly golden.
- Not letting cookies cool slightly on the pan: They are delicate when hot.
- Trying to add topping to warm, soft dough: The dough needs to be shaped first.
- Creative Recipe Variations:
- Different Cookie Base: Use a lemon or even a white chocolate chip cookie dough base for a twist.
- Add White Chocolate Chips: Fold ½ cup of white chocolate chips into the cookie dough for extra sweetness and creaminess.
- Almond Extract: Use a combination of vanilla and almond extract in the cookie dough for a slightly different flavor profile.
- Colored Cookie Dough: Increase the food coloring for a more intensely pink cookie.
- Different Topping Base: Experiment with crushed shortbread cookies, Golden Oreos, or even pretzels for a salty crunch.
- Seasonal Adaptations:
- Summer: Perfect as is, celebrating fresh strawberry flavors (even if using freeze-dried).
- Valentine’s Day: Use red food coloring for a vibrant pink hue and shape cookies into hearts before adding the topping.
8. Ingredients Section
Here is a detailed look at the ingredients for both the cookies and the delicious topping:
For the Cookies:
- 1¼ cups (156g) All-Purpose Flour: Spooned and leveled. Provides the main structure of the cookie.
- ¼ teaspoon (1.25ml) Baking Powder: A leavening agent that contributes to the cookie’s rise and texture.
- ¼ teaspoon (1.25ml) Baking Soda: Reacts with acidic ingredients (like brown sugar, though not present in this specific basic recipe, it’s common in cookies and soda adds chewiness regardless) and contributes to spread and chewiness.
- ⅛ teaspoon (0.6ml) Salt: A small amount to balance the sweetness and enhance flavors.
- ½ cup (1 stick or 113g) Unsalted Butter, softened to room temperature: Essential for richness, flavor, and proper creaming.
- ¾ cup (150g) Granulated Sugar: Sweetens the cookies and aids in achieving a tender crumb.
- 1 large Egg: Binds the ingredients and contributes to the cookie’s structure and moisture.
- 1 teaspoon (5ml) Vanilla Extract: Adds warmth and classic cookie flavor.
- 1-2 drops Pink or Red Food Coloring (optional): For giving the cookie dough a lovely strawberry-like hue. Gel food coloring provides more vibrant color with less liquid.
For the Strawberry Crunch Topping:
- 1 cup (approx. 70g) Crushed Vanilla Wafers or Shortbread Cookies: Provides the base for the crunch. Crush them into fine crumbs – a food processor works well, or place them in a bag and crush with a rolling pin.
- 1/4 cup (approx. 5g) Freeze-Dried Strawberries, crushed: The key to the intense strawberry flavor and vibrant pink color in the topping. Crush them into a powder or very small pieces.
- 2 tablespoons (28g) Melted Butter: Helps bind the topping ingredients together and adhere to the cookie dough.
Measurement Conversions (Approximate):
- 1 cup = 240ml
- ¼ cup = 60ml
- ½ cup = 120ml
- 1 tablespoon = 15ml
- 1 teaspoon = 5ml
- ⅛ teaspoon = approx. 0.6ml
- 1 stick butter = ½ cup = 113g
- 1 ounce = 28g
Quality and Sourcing Recommendations:
- Use fresh baking powder and baking soda for proper leavening.
- Choose good quality vanilla wafers or shortbread cookies for the topping base.
- Ensure your freeze-dried strawberries are completely dry and brittle for easy crushing and intense flavor.
Possible Ingredient Substitutions:
- All-Purpose Flour: A 1:1 gluten-free baking blend may work, but results can vary.
- Unsalted Butter: Salted butter can be used, but omit the added salt in the cookie dough.
- Granulated Sugar: Other granular sweeteners could be substituted, but the texture and sweetness level may change.
- Eggs: Egg substitutes are not recommended in this recipe.
- Vanilla Wafers/Shortbread: As mentioned in variations, other plain cookies could be used, but the flavor profile will change.
Notes on Ingredient Preparation:
- Ensure butter is properly softened to room temperature.
- Measure flour by spooning and leveling.
- Crush vanilla wafers and freeze-dried strawberries finely.
- Melt the butter for the topping gently – don’t brown it.
9. Step-by-Step Instructions
Follow these easy steps to create your delightful Strawberry Crunch Cookies:
Step 1: Prep the Strawberry Crunch Topping
- In a small bowl, combine the 1 cup of crushed vanilla wafers (or shortbread cookies) and ¼ cup of crushed freeze-dried strawberries. Mix them together to distribute the strawberry pieces evenly within the cookie crumbs.
- Pour the 2 tablespoons of melted butter over the crumb mixture.
- Mix everything together with a fork or your fingers until the crumbs are evenly coated with butter and the mixture resembles coarse sand. The butter helps bind the topping and makes it stick to the cookies. Set this topping mixture aside in a shallow bowl or on a plate for easy dipping.
Step 2: Make the Cookie Dough
- In a medium bowl, whisk together the 1¼ cups of all-purpose flour, ¼ teaspoon of baking powder, ¼ teaspoon of baking soda, and ⅛ teaspoon of salt. Set aside. Whisking ensures the dry ingredients are evenly distributed.
- In a large mixing bowl, cream the ½ cup of softened unsalted butter and ¾ cup of granulated sugar together using a hand mixer or stand mixer (or a whisk and some effort). Beat on medium speed until the mixture is light and fluffy, about 2–3 minutes, scraping down the sides of the bowl as needed. This incorporates air and creates a tender cookie.
- Beat in the 1 large egg and 1 teaspoon of vanilla extract until smooth and well combined.
- If using, beat in 1-2 drops of pink or red food coloring until the desired hue is reached.
- Gradually add the dry ingredients to the wet ingredients, mixing on low speed or with a spatula just until everything is combined and no dry streaks of flour remain. Be careful not to overmix, as this can result in tough cookies.
Step 3: Assemble and Bake
- Preheat your oven to 350°F (175°C). A properly preheated oven is essential for even baking.
- Line a baking sheet with parchment paper. This prevents sticking and makes transferring the cookies easy.
- Scoop tablespoon-sized portions of cookie dough. A cookie scoop helps create uniform cookies.
- Gently roll each portion of dough into a ball between your palms.
- Flatten each dough ball slightly with the palm of your hand or the bottom of a glass. This helps the cookies spread slightly and provides a good surface for the topping.
- Press the top of each flattened cookie dough ball into the prepared strawberry crunch topping, coating the top evenly with the mixture. Gently press the topping into the dough to help it adhere.
- Place the coated cookie dough balls on the prepared baking sheet, leaving about 2 inches of space between them to allow for spreading during baking.
- Bake for 10-12 minutes, or until the edges of the cookies are lightly golden brown and the centers still look slightly soft. Avoid overbaking.
- Visual Cues: Look for the edges to set and turn a pale golden color. The center may still look a little underdone, which is perfect for a chewy cookie.
- Troubleshooting: If your cookies aren’t spreading much, your oven might be too cool, or your dough might be a little dry. If they are spreading too much, the butter might have been too soft, or your oven might be too hot.
Step 4: Cool and Serve
- Carefully remove the baking sheet from the oven.
- Let the cookies cool on the baking sheet for 5 minutes. They are delicate when hot and need this time to set up before being moved.
- After 5 minutes, use a spatula to carefully transfer the cookies to a wire rack to cool completely. Cooling on a wire rack allows air circulation, which helps them set up properly.
- Serve once completely cooled and enjoy the wonderful combination of soft cookie and crunchy topping!
10. Frequently Asked Questions (FAQ)
Find answers to common questions about making these delightful Strawberry Crunch Cookies:
- Q1: Can I use fresh strawberries instead of freeze-dried?
- No, fresh strawberries have too much moisture and will not create the dry, crunchy texture needed for the topping. Freeze-dried strawberries are essential for this recipe.
- Q2: My strawberry crunch topping isn’t sticking to the cookies. What can I do?
- Ensure you’ve added the melted butter to the topping mixture and mixed it in well. Also, make sure you are pressing the flattened cookie dough firmly into the topping to help it adhere.
- Q3: How do I crush the vanilla wafers and freeze-dried strawberries?
- You can use a food processor for a fine, even crumb. Alternatively, place the wafers and freeze-dried strawberries in separate zip-top bags and crush them with a rolling pin or the bottom of a glass.
- Q4: Can I make the cookie dough ahead of time?
- Yes, you can prepare the cookie dough and store it, well-wrapped, in the refrigerator for up to 3-4 days. When ready to bake, let the dough sit at room temperature for about 15-20 minutes to soften slightly before scooping, rolling, flattening, adding the topping, and baking.
- Q5: The edges of my cookies are browning too quickly. What should I do?
- This might indicate your oven is running a little hot. Try reducing the oven temperature by 10-15°F (5-8°C) for the next batch. You can also try baking one tray at a time in the center of the oven.
- Q6: Can I add white chocolate chips to the dough?
- Yes, absolutely! Adding ½ cup of white chocolate chips to the dough along with the dry ingredients is a delicious addition that complements the strawberry and vanilla flavors.
- Q7: How long do these cookies stay crunchy?
- The topping will remain crunchy for a couple of days if stored in an airtight container at room temperature. Over time, it may soften slightly, but the cookies will still be delicious.
These Strawberry Crunch Cookies are a simple yet incredibly satisfying bake that brings a touch of nostalgic joy. Just like mastering the art of these flavorful cookies, exploring different culinary techniques can open up a world of delicious possibilities. If you’re interested in expanding your baking repertoire or even venturing into savory dishes, consider checking out guides on fundamental skills.
Understanding how long to boil potatoes for potato salad is a great basic skill, or perhaps learning how to grill burgers to perfection for your next barbecue. For those who appreciate comfort food, our article on the history and appeal of grilled cheese and tomato soup offers a delightful read. And if you’re a fan of unique flavor combinations, exploring topics like what is elote might introduce you to a new favorite. Happy baking and cooking!